Introduction
Meat is by far the most common food people in America grill today. But more and more people are choosing to step outside that box and go for something a little different than what they’re used to. The usual first step once you’ve decided to take that leap into new grilling experiences is Pizza. Most people buy a ready-made pizza and stick it on the Grill top. But we’re not gonna do that. No, that’s not fun. Today I’m going to be teaching you how to not only Grill a Pizza, but also how to make one from scratch. It’s very easy and before long you’ll be making better Pizzas than even the local Pizzeria. So don’t call for delivery, let’s get to it.
Step One – Make Your Own Dough
This is so easy. 250ml of water and add flour. There’s no rule on how much flour you add because some people like it more floury than others. Stir it up until it starts to get thick then add two Tea Spoons of Olive Oil and a few pinches of Salt. Stir some more and it should be coming together by now into a big fat ball of Dough. Throw some Sesame Seeds in if you like or anything else you want like Herbs and Spices. This is your Pizza. Your ball of Dough is your ball of Dough, so when you’re happy to take it out of the bowl and put it to one side. Or put it in the Fridge if you’re not actually making the Pizza until later.
Step Two – Assemble Your Ingredients
Ok, so the best part about making your own Pizza is that you can choose whatever you want to go on it. So go to your Fridge or get down to the store and decide what your dream Pizza is. Once you’ve got all of your ingredients together, take them outside with you and fire up the grill. Make sure you disperse your Charcoal evenly across the Grates, close the lid and open the Dampers up.
Step Three – Fun with Dough
You’re going to be waiting a while for your Grill to heat up so in the meantime you’ll be making the Pizza Base. If you put your Dough in the Fridge take it out at least an hour before stretching it. Otherwise, it’ll be too hard to stretch. To begin stretching you’re going to want to put some Cornmeal down to prevent it from sticking to your Pizza Paddle. If you don’t have a paddle you should use Foil. To massage your Dough, start in the center and massage out gently creating a circular shape. Now it can be as small or as large as your Grill will allow and as thick or as thin as you like your Pizza. So once you’ve got the massaging technique going stop when it starts looking like your dream Pizza.
Step Four – My Secret Ingredient
It’s not so secret now it’s on the internet but hey, nothing stays hidden forever right? More Olive Oil. you already used Olive Oil in making the Dough, but some outdoor Pizza experts rub Olive Oil on the bottom of their Pizza base also, to prevent sticking. I do it because it makes the taste better. Give it a try.
Step Five – Cooking your dough
Once you’ve got the Olive Oil on the bottom of the base you need to put your Dough on to cook, Olive Oil side down. Leave it on there for about 4 minutes. When it’s done, take it off and place it cooked side up, because you’ll be putting your ingredients on the cooked side.
Step Six – It’s starting to look like a Pizza
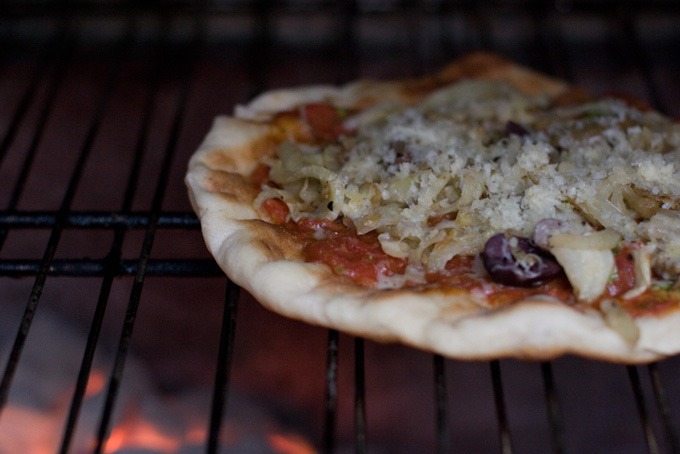
This is the real fun part. Get those ingredients on your Pizza. They can be whatever you want, even disgusting combinations your local Pizzeria wouldn’t make for you. You’re the law now so if you like them, then put them on. You can have as many different ingredients on there as you like and you can pile them on as high as you like. Once you’re done, place your Pizza back onto the Grill for another four minutes.
Step Seven – Eat
Yep, that’s it. You can start eating your very first homemade from scratch Pizza.
Thank you for reading and enjoy your Pizza!!!!!!!

