Tips for Maintaining a Ceramic Grill
Ceramic grills are gaining popularity among those who want a different, better barbequing experience. These grills are able to heat up much more quickly and even retain higher temperatures than the regular kind. The results are delicious and authentic, especially when you want a proper sear to your meat before cooking it. Plus, ceramic grills allow you to cook your items on all sides at once instead of having to estimate the flipping time during the cooking process. A more detailed guide to ceramic grills will hopefully help you with handling your own model.
If we want to maintain the full benefits of our ceramic grill, though, maintaining it regularly is necessary. If we neglect this task, it might not be so enjoyable to use that ceramic grill for the long term. Of course, the maintenance is a bit different from the way you handle a traditional grill. Let's have a look at some tips for maintaining that ceramic grill and getting your money's worth from it:
Importance of Cleaning Ceramic Grills
Any barbeque grill requires regular cleaning and some maintenance. This will ensure that they'll work when you need them instead of conking out in the middle of a large party. Ceramic grills are no different; with the right care, you'd be able to enjoy an excellent performance each time. However, these grills do have a somewhat different design than most people are used to. This can make cleaning and maintenance a little difficult, so it's important to read up on the instructions beforehand.
If you want to keep your ceramic grill running reliably and smoothly, check it as frequently as possible. This will keep your grill in decent condition and lower the stress of cleaning it. Check out the steps below and make sure to go through them for your grill as soon as possible:
Removing the Ash
Whenever you use your ceramic grill, an ash buildup is inevitable. This means that some ash will always collect in the bottom-most part of your grill's chamber.
This ash will get in the way of that all-important airflow while you're using the grill. It might even contaminate the food, so you want to clean it out for the sake of both health and convenience.
Many ceramic grill manufacturers recommend cleaning out and disposing of the ash right after using the grill each time. Fortunately, this is a fairly easy step. If you have one of the latest styles, they might even have an ash disposal tray to make this step super simple. Check the bottom of the grill chamber to see if your model has this tray.
Removing and disposing of the ash requires a bit of care, as you don't want it to fly all over the place. First, allow your grill to cool down. You can open up the grill's lid and stir the remaining coal with a stick. This will allow the entire ash residue to fall into the ash tray or the foot of the chamber.
Put a bowl or bucket under your grill to catch spilled ash, and then remove the ash tray or ashes through the draft door. Put these ashes in a garbage bag and seal them as tightly as possible.
Cleaning the Mold
Regular cleaning will prevent mold buildup in your ceramic grill, but you never know when an unexpected growth will crop up. It might be a bit grotesque, but every grill owner needs to know how to deal with mold on their equipment.
It's especially important to deal with mold right away. If your grill is in storage for the winter, make sure to check on it every now and then. Even a little moldy growth can become a huge problem if you leave it untreated.
Mold can be quite an issue, especially if it gets on the inner walls of your grill's chamber or the grilling grates. However, it is a common occurrence, so there's nothing to get too alarmed about. If you catch it early on, it can even be easy to eliminate mold in a ceramic grill.
You may not have to use harsh cleaning chemicals for this cleaning task; simply heat up the grill and place its components inside. Open the vents and dampers; then close the lid. Set the temperature high, around 500 to 600 degrees Fahrenheit. Make sure the heat doesn't get any higher than this, as it might harm your grill. Check to see if you have the right heat with a temperature gauge.
Keep the grill at this high heat for around 20 minutes, then close the bottom vent and let it be for another 20 minutes. Close the top vent and repeat. When all the vents are shut, the grill's heat will die down naturally. You can leave the grill to cool down on its own.
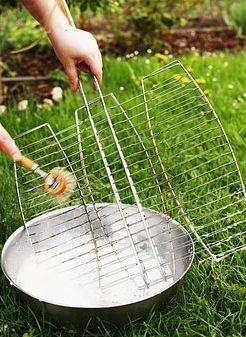
Once you have a cool grill, take a grill brush and clean those grates. Since the heat has killed off the mold, you don't need chemicals or even soapy water for this step.
Clean the Pizza Stone

Some people use their ceramic grill to make pizzas, which means that he might have a pizza stone in there as well. When you're cleaning your grill, that stone shouldn't be neglected. The method for cleaning this stone is quite important, so pay close attention.
First, be aware of the don'ts of cleaning your pizza stone. You don't need soapy water, or a lot of water to submerge this item in. There's also no need to use oils for protecting, coating, preserving, or seasoning the stone. Cleaning chemicals are also discouraged here---so how do we go about cleaning that pizza stone?
When it comes to the ceramic pizza stones, you can first flip them over for the next use. This way, you get your clean surface and the heat will burn off the buildup on the first side.
You can also use your grill brush to clean the stone thoroughly. After the pizza stone cools, scrape the grease and dirt with the brush. You'd also want to put the stone in a dry storage space to make it last as long as possible.
Deep Cleaning
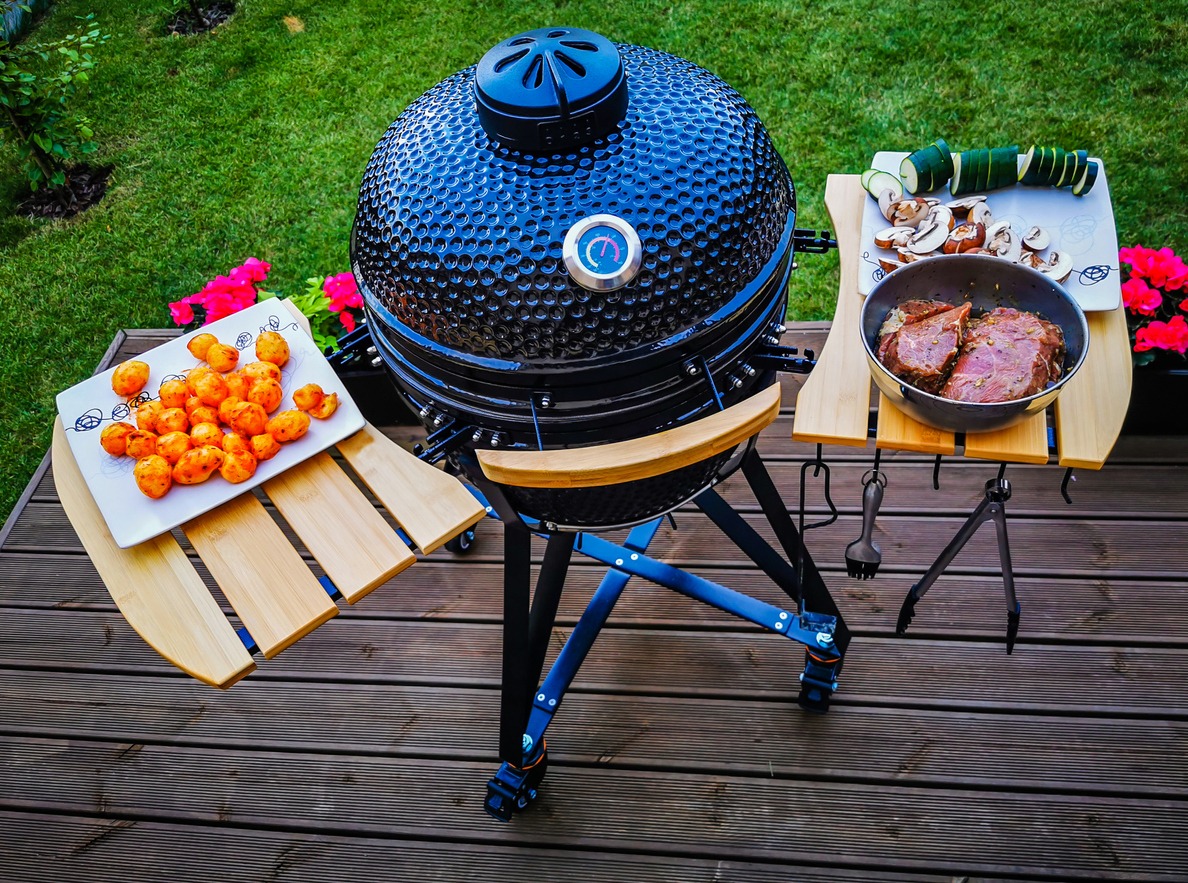
Ceramic grills, especially the Kamado grill series, need a deep cleaning session every now and then. This should ideally be every few months or at least twice a year.
First, you'd put all the components, including the deflector plates and cooking grates inside the grill. Make sure they're all in their intended slots. Open the cents, close the lid, and ramp up the grill's temperature to around 600 Fahrenheit. Let it stay like this for half an hour, then close the vents.
After the grill cools down, take out the grates and plates. Their grease and dirt buildup should mostly have burned off, but a grill brush is still necessary to get them like new. No water, chemicals, or soap are required for this step.
Next, you'll remove the remaining goal from inside your grill. Take out the other components after that, including the fire box. You can then clear up ash residue by using a vacuum and then a damp paper towel.
After this step, you can put all the components of the grill back inside and put on the lid. That's right; cleanup and maintenance for a ceramic grill are usually much easier and less messy than for the regular models. If you're still hesitating about getting one due to the higher cost, check out some reviews of relatively cheaper ceramic grills for your next barbeque.
Conclusion
There are several things to keep in mind when you're maintaining your ceramic grill. If you get it all right, though, you'd have a priceless investment on your hands. When it's working as it should, that ceramic grill could be your best friend at cookouts, barbeques, and a number of other occasions.